Introduction
I’ve had my current router fence for some time now and it looks pretty bad and I
also made it before I started doing YouTube videos, which means I don’t have a
build video to reference. In addition to having a video to refer back to, I also
wanted to build a video to accompany the plans I recently made for it. The overall
design is the same with the exception of a couple minor changes due to
functionality.
Router Fence Features
The new router fence has several features to mention. I’ll list them below:
Adjustable fence with dust relief
The lower portion of the front fence has the capability to slide left and right to
allow for different sized bits. The center sections of the adjustable fence are cut
at a 45 degree angle from the outside front to the inside creating a relief for
the dust to travel.
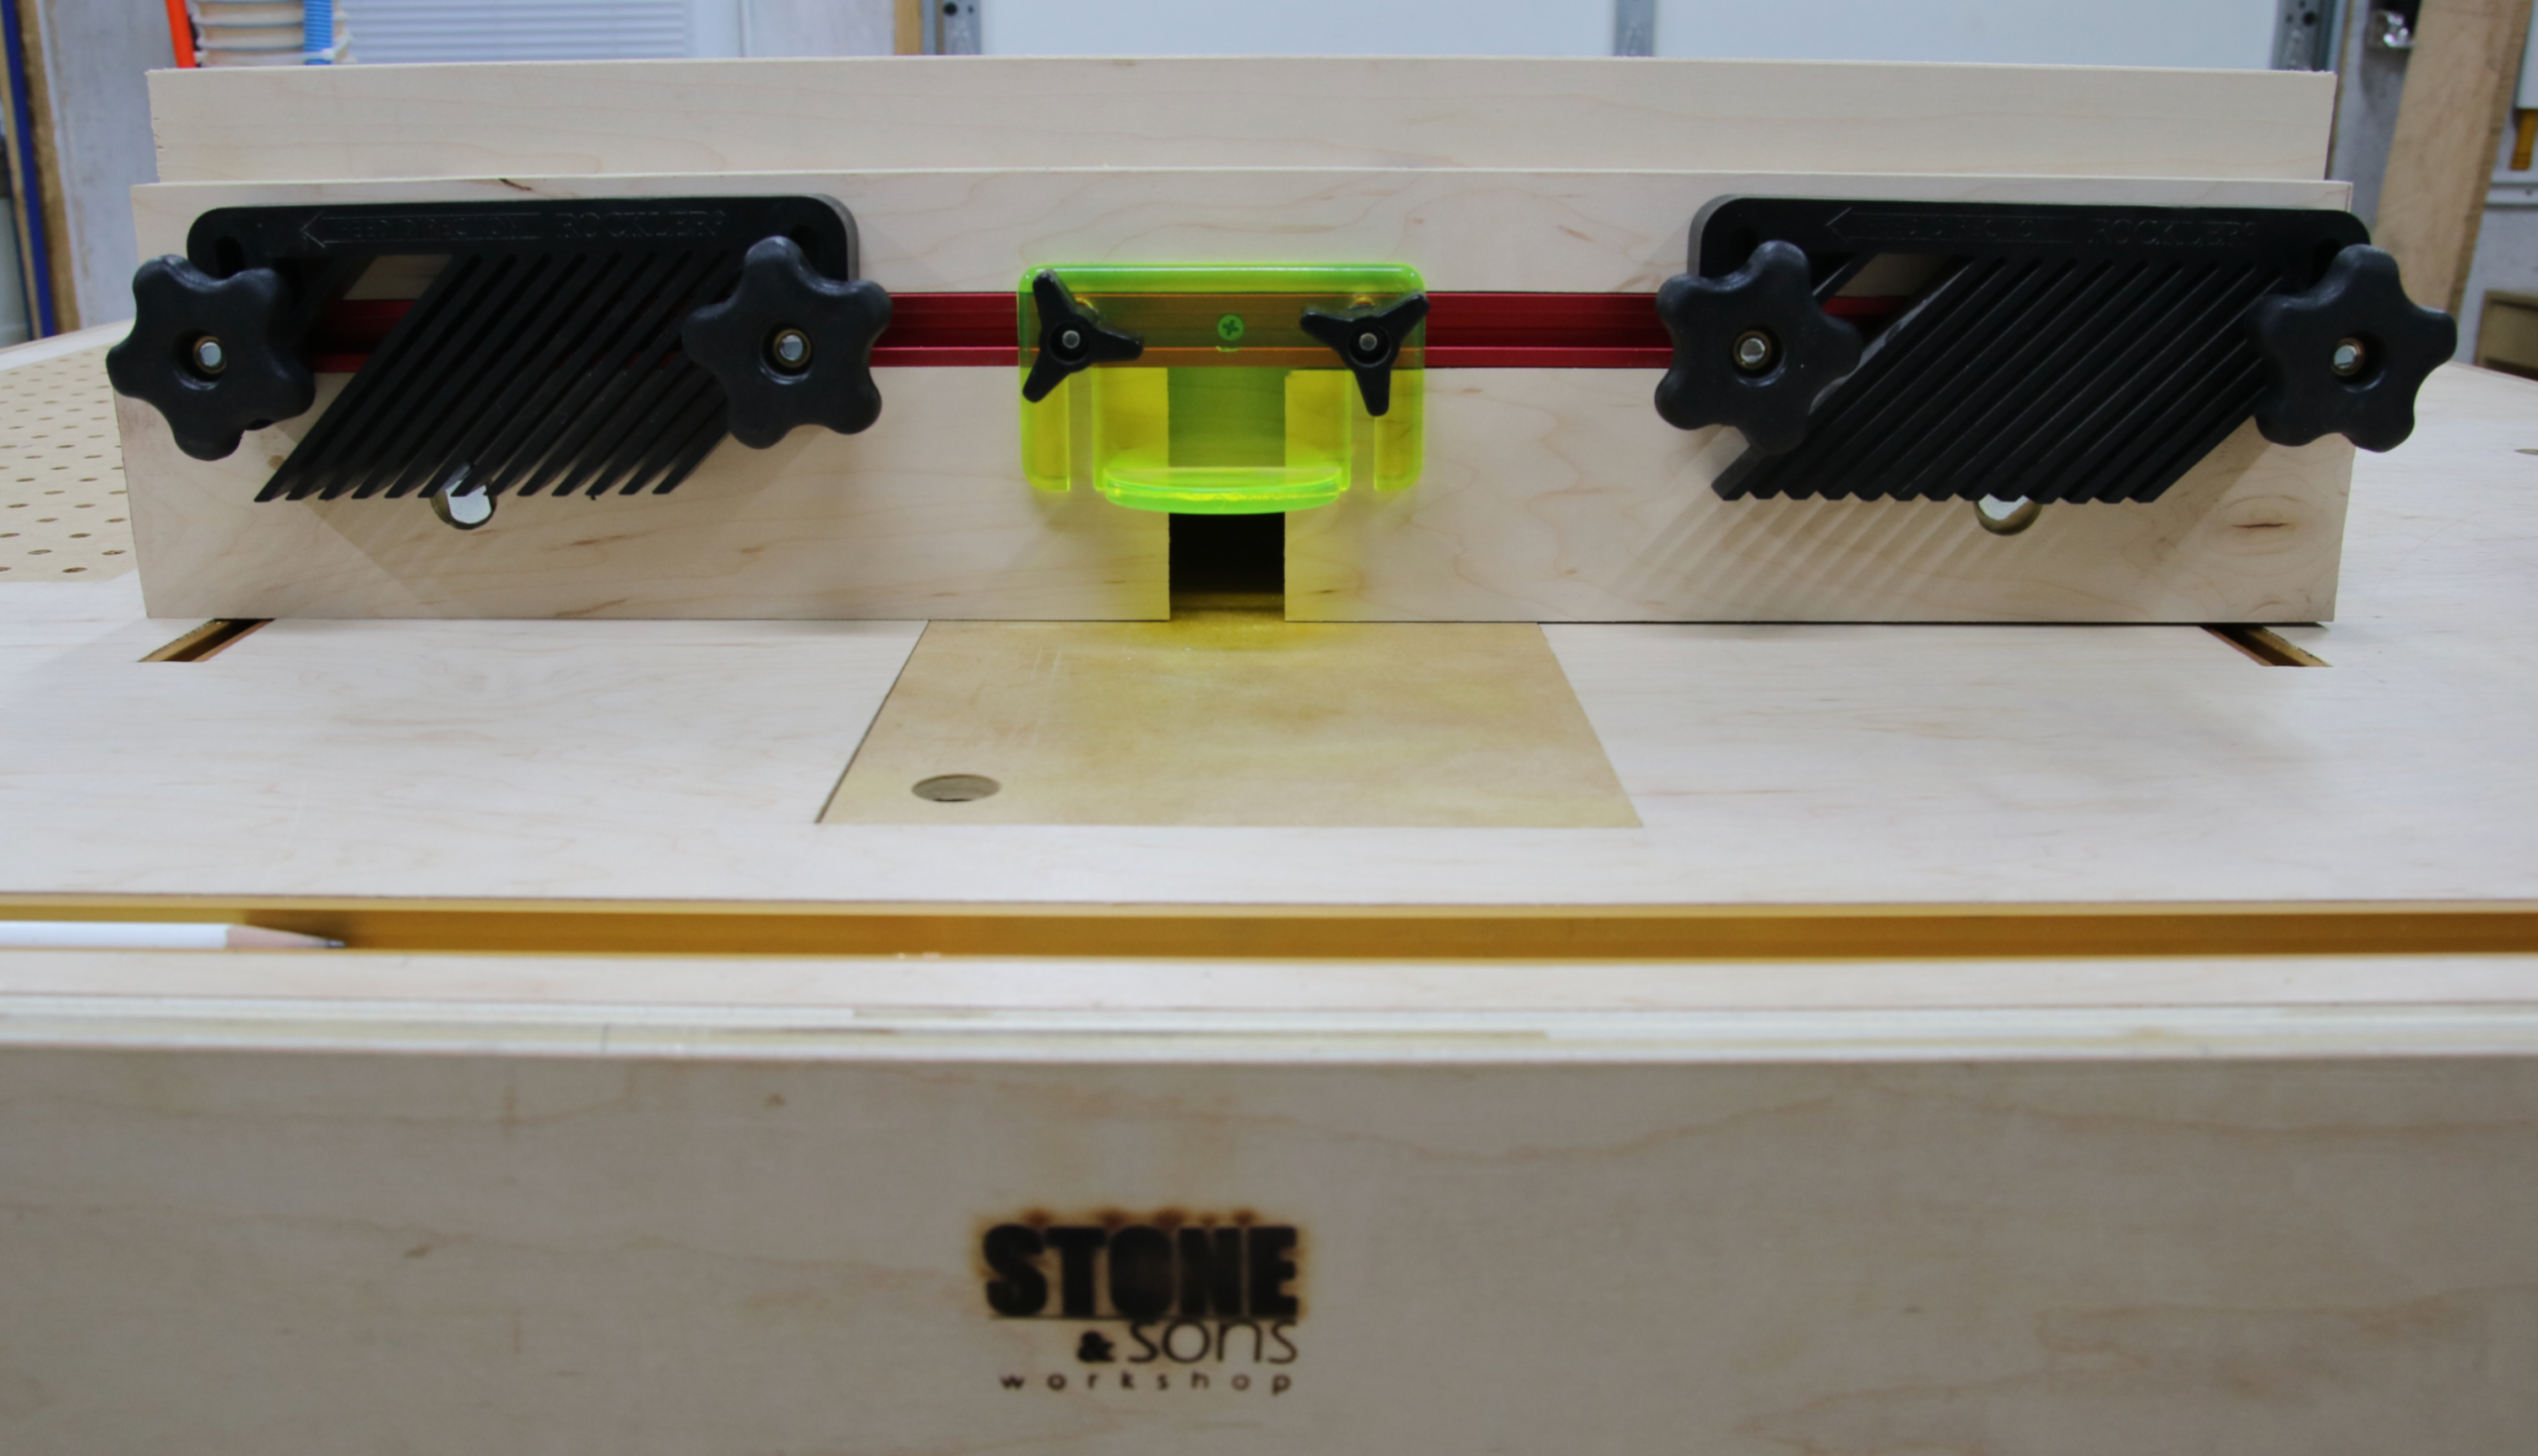
T-track for accessories
The T-track itself is necessary for the accessories, which includes a bit guard
and two feather boards. The bit guard would help protect you in the event the
bit exploded or to just keep wood chips from flying up into your face. The
feather boards help stabilize the workpiece while it’s being fed through the
router bit.
Extended upper front main section for future accessories
This portion of the fence is extended higher than the T-track piece. One
reason for this is to have the capability to add future accessories and jigs in
the future.
Dust collection
The dust collection is the best feature on this router fence in my opinion. With
the router fence in place, as the wood is being cut by the bit the wood chips
and dust are sucked past the bit through the fence opening, into the rear
cavity (dust box) and then down through the dust port. I perform a
demonstration to show how well it really does work. Unless I’m cutting dados
or dovetail slots I basically get zero dust on the table.
Construction
The basic frame of the fence is simple; it’s two pieces of wood joined together by
a couple of triangle supports and screws to create an “L” shape. The front main
piece gets a couple of slots cut into it for the front adjustable fences. The two
front adjustable fences attach to the front main piece with a “T” bolt, which
enters the fence through a hole on the adjustable fence face and then through the front main piece and is secured with a star knob on the back side. The head of the bolt is prevented from going all the way through by drilling with a forstner bit on the face of the adjustable fence halfway through, in the same location as the through hole. I hope that makes sense; if not, watch the video as it should clear up any confusion. Sitting directly on top of the adjustable fences is a full-length section with a rabbet cut out. The rabbet allows for a T-track to be installed and sit flush with the rest of the fence. The T-track I chose to use didn’t have any pre-drilled holes, so it received four to five holes. Screws were used to attach the T-track section to the front main piece. The T-track accepts different accessories. In my application, I used a router bit guard and two feather boards as safety features. Dust collection is definitely one of the best features on this router fence. The bottom and front main pieces have strategic cut outs just for dust collection. Everything is held in place using only screws.
You can find the digital plans to this router fence here